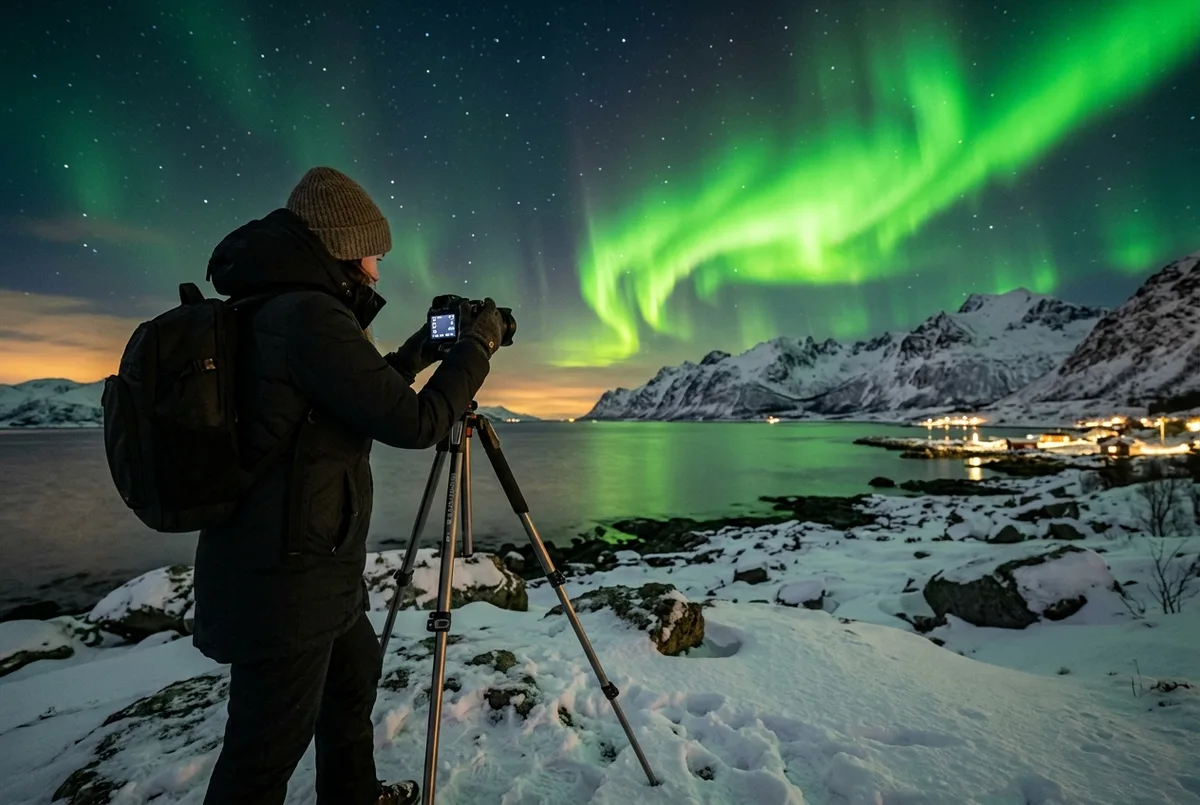
How to photograph the northern lights starts with one fact worth accepting up front: your eyes and a modern camera see the aurora very differently, and a phone or camera with the right settings will almost always show you more color and structure than you can see standing there in the dark. This guide covers what actually works, from a modern phone’s built in night mode through to manual camera settings, and where a guided photography tour genuinely earns its higher price if you would rather not manage all of this yourself in freezing conditions.
Can I Photograph the Northern Lights on My Phone?
Yes, most phones from the last few years handle aurora photography surprisingly well using their built in Night Mode or Astro Mode, which automatically extends the exposure time and reduces noise without you touching a single manual setting.
I would still mount the phone on a small tripod rather than trying to hold it steady by hand, since even a slight wobble during a multi-second exposure blurs the whole shot. Turn off the flash, disable any beauty or portrait filters, and let the phone’s own long-exposure mode do the heavy lifting.
What Camera Settings Actually Work for the Northern Lights?
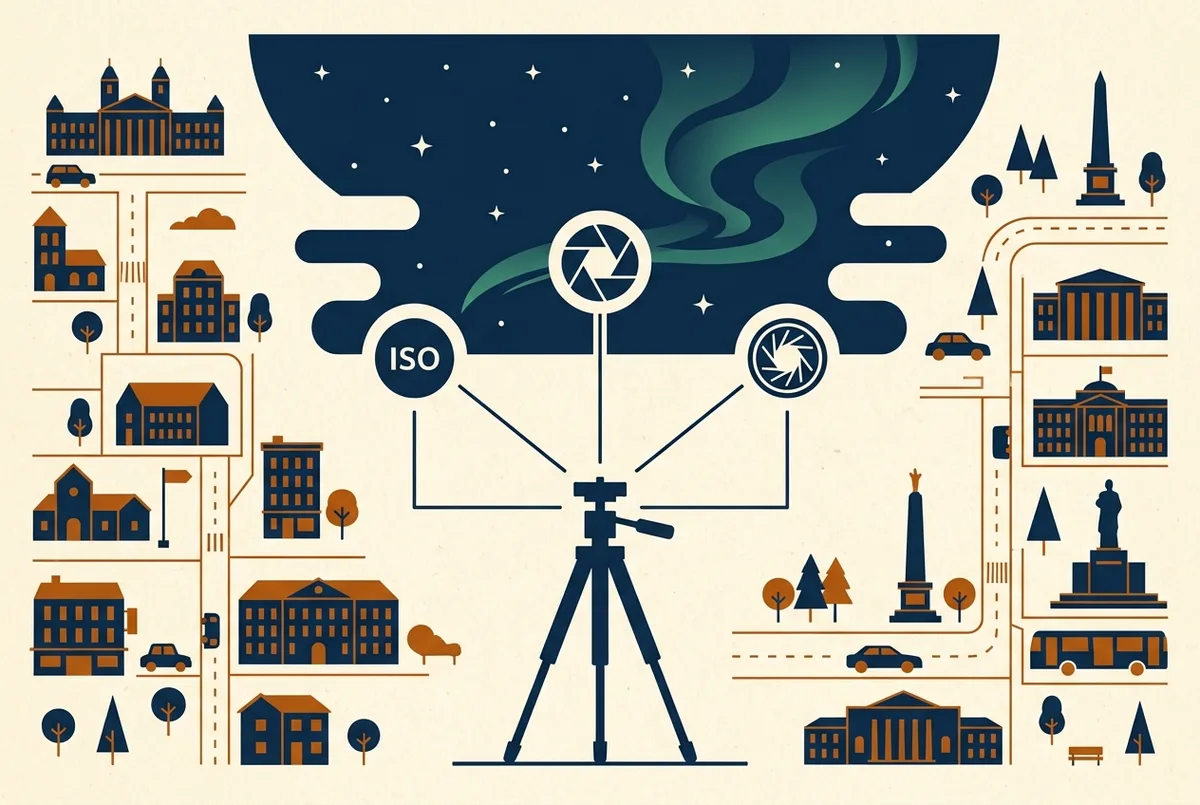
For a dedicated camera, start around ISO 800 to 3200, an aperture as wide open as your lens allows, and a shutter speed between two and eight seconds depending on how fast the aurora is moving that night.
I would lean toward a faster shutter speed, closer to two or three seconds, when the lights are moving quickly, since a longer exposure smears fast motion into a flat green haze rather than the crisp curtains you actually saw. A slower shutter, up to eight seconds, works better for a fainter, more static glow.
Do I Really Need a Tripod?
Yes, and I would treat this as non-negotiable rather than optional. Any exposure longer than about a quarter of a second reveals hand shake as visible blur, and aurora photography almost always needs exposures well beyond that.
A compact travel tripod is enough; you do not need anything heavy or expensive. If you forget one, bracing your phone or camera against a solid, still surface like a fence post or your own bag on the ground is a reasonable backup, though a proper tripod will always beat improvising.
What Mistakes Ruin Most Aurora Photos?
The biggest mistake I see is people trying to photograph the display the moment it appears instead of taking thirty seconds to actually set focus manually, since autofocus struggles badly in the dark and often hunts uselessly against a black sky.
I would set focus manually to infinity, or to a distant light on the horizon, before the lights build, so you are ready the instant they intensify rather than fumbling with autofocus while the best moment passes. A close second mistake is shooting with the lens cap’s UV filter left on, which can cause odd reflections and halos in the resulting image.
Will My Photos Actually Look Like What I See in Person?
Usually not exactly, and I think it is worth knowing that going in rather than feeling disappointed later. A camera’s longer exposure gathers far more light than your eyes do in real time, so photos often show richer color and sharper structure than what registers to the naked eye on a moderate night.
My guide to what the northern lights really look like in person goes deeper on that gap between the photo and the live view, which is worth reading before you set expectations for your trip.
Should I Just Book a Photography-Guided Tour Instead?
If the idea of adjusting camera settings in freezing temperatures while also trying to enjoy the moment sounds like a lot, yes, I would seriously consider it. A guided photography tour hands the technical side to someone experienced while still helping you shoot your own images.
The Tromso Northern Lights Photography Tour builds hands-on camera instruction into the evening itself, with tripods provided and a guide who is also a working photographer helping you dial in settings in real time rather than reading a guide like this one in the dark and cold.
Does Dressing Warmly Actually Affect My Photos?
More than people expect. Cold hands fumble small dials and touchscreens, and a rushed, uncomfortable photographer misses the exact moment a display peaks far more often than someone settled in and patient.
My packing guide for what to wear on a northern lights tour covers the layering system that keeps you comfortable enough to actually wait for the best shot instead of packing up early.
What if I’m Choosing Between a Guided Chase and Driving Myself to Shoot?
I would lean toward a guided chase if photography is a priority, since a guide who already knows which spots offer a clean horizon and minimal light pollution saves you real time you would otherwise spend scouting alone in the dark.
My full comparison of guided tours versus self-driving covers the broader logistics and safety tradeoffs of each option in more depth.
What if I Don’t Own a Tripod at All?
I would improvise before giving up on photos entirely. A solid, flat surface like a car roof, a fence post or even a bag of gear set on the ground can hold a phone or camera steady enough for a short exposure if you brace it carefully and use a timer or remote shutter to avoid touching the device during the shot.
That said, I would not rely on improvising if photography genuinely matters to you on this trip. A compact travel tripod is cheap enough and small enough to pack that there is little reason to gamble a once-in-a-trip display on a propped-up phone that might shift mid-exposure.
Does the Aurora Move Too Fast to Photograph Well?
Rarely, though a genuinely fast, dancing display does call for a shorter shutter speed than a slow, steady glow. I would watch the lights for a few seconds before setting your exposure, since that quick read tells you whether to lean toward a two-second shutter for motion or a longer one for a fainter, calmer night.
My Honest Recommendation
I would start with the free option: your phone’s Night Mode on a small tripod handles a genuinely active display well, and it costs nothing extra to try. If you already own a camera with manual controls, practice the settings above at home in a dark room before your trip so you are not learning them for the first time in the Arctic cold.
If you would rather focus entirely on the moment and let someone else manage the technical side, I would book the dedicated photography tour rather than trying to teach yourself everything on one cold evening. Either way, patience matters more than gear: the best shot usually comes to whoever waited calmly for the display to build rather than whoever had the newest camera.
Frequently Asked Questions
Can I photograph the northern lights with just my phone?
Yes, most recent phones handle it well using built in Night Mode or Astro Mode on a small tripod, without needing any manual camera settings.
What camera settings work best for aurora photography?
Start around ISO 800 to 3200, a wide open aperture, and a shutter speed of two to eight seconds, adjusting faster for quickly moving lights and slower for a fainter glow.
Do I need a tripod to photograph the northern lights?
Yes, essentially any exposure long enough to capture the aurora will show visible blur from hand shake without one.
Why don’t my aurora photos look like what I saw in person?
A camera’s longer exposure gathers more light than your eyes do in real time, so photos often show richer color and more visible structure than the naked-eye view.
Is a photography-guided tour worth it over doing it myself?
If you would rather not manage camera settings in the cold, yes, a guided photography tour provides tripods and hands-on instruction so you can focus on the moment.
Explore Understanding the Aurora
For background on the phenomenon you’re actually photographing, the Wikipedia entry on the aurora is a solid independent reference. Once you know the shot you’re after, I would go ahead and compare Tromso aurora borealis tour options built around the kind of night you’re hoping to capture.